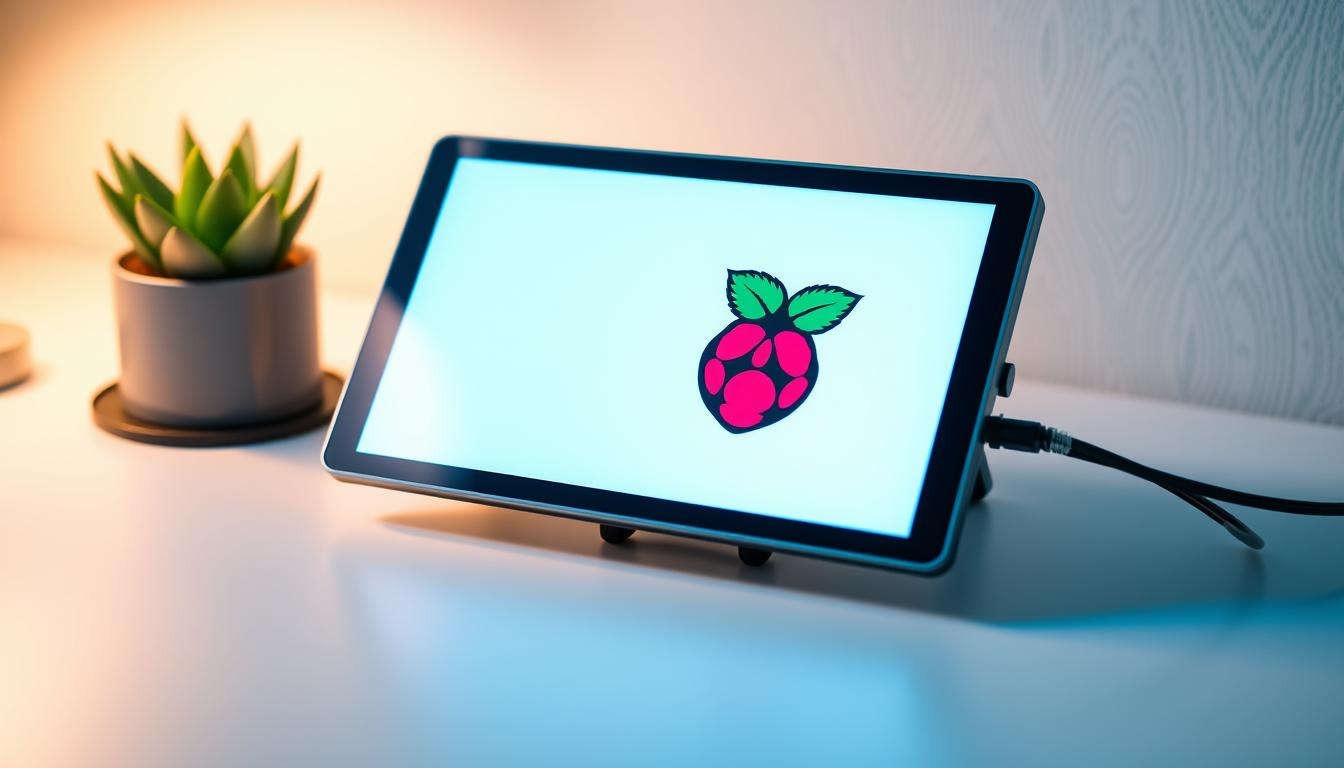
The 7 Inch Touch Screen Monitor for Raspberry Pi is a top-notch display for fans and developers. It makes your projects better, from simple ideas to complex displays. It has a clear 800 x 480 pixels screen and works with multi-touch, great for learning and IoT projects.
In this article, we’ll look at its key features, how to set it up, and its benefits. We’ll also talk about accessories to make it work even better.
Key Takeaways
- Supports high-resolution display with 800 x 480 pixels.
- Compatible with multiple Raspberry Pi models including 3B, 4B, and 5.
- Features 10-finger capacitive touch functionality.
- Connections required: 2 (power and DSI ribbon cable).
- New package update includes an additional DSI adapter for Raspberry Pi 5.
- Educational software support enhances programming and learning experiences.
Introduction to the 7 Inch Touch Screen Monitor
The 7 Inch Touch Screen Monitor is a great choice for Raspberry Pi fans. It has a 7-inch screen and 800 x 480 pixels for clear images. It’s perfect for DIY projects, digital signs, and learning tools.
This 7 inch monitor supports up to 10 points of touch. It’s easy to set up and works well in many places. It’s also safe to use in temperatures between 0 and 50°C.
Connecting it to a Raspberry Pi is simple. You just need to plug in power and a ribbon cable. It meets all the necessary safety standards. Just remember to keep it dry and cool.
The 7 Inch Touch Screen Monitor is loved by many Raspberry Pi users. It’s great for all sorts of projects because of its size and features. It’s a must-have for makers and teachers.
Key Features of the 7 Inch Touch Screen Monitor
The 7 inch touch screen for Raspberry Pi has an 800 x 480 resolution. This means it shows sharp and vibrant images. It’s perfect for detailed designs and clear pictures.
Its wide viewing angle of up to 85 degrees makes it great for presentations. It’s also perfect for projects where everyone needs to see the screen.
This Raspberry Pi monitor is super interactive. It supports up to ten fingers at once. You can use it without keyboards or mice.
The drivers work well with the latest Raspbian OS. This makes the touchscreen work perfectly with Raspberry Pi apps.
The monitor is not just functional; it’s also adjustable. You can change the screen brightness for better visibility. It’s also small and easy to fit into projects.
Its pixel density makes visuals even better. And at around $60, it’s a good deal for anyone wanting to improve their Raspberry Pi setup.
Connecting the Touch Screen to Your Raspberry Pi
To connect the 7-inch raspberry pi touch screen to your Raspberry Pi, you need a few key items. You’ll need an adapter board for power and signal, a DSI ribbon cable for display, and jumper wires for GPIO. This setup is simple, needing just two main connections.
First, connect the ribbon cable from the display to the Raspberry Pi’s DSI port. Then, use GPIO pins for power. Make sure the ribbon cable is tight; a loose connection can cause screen issues. The kit includes mounting hardware like stand-offs and screws, making it easy for anyone to set up.
When buying raspberry pi accessories, think about your budget. The total cost for the 7-inch touchscreen and Raspberry Pi parts is $147.95. Knowing what you need helps you start fun projects like custom control panels or smart mirrors.
Best Uses for the 7 Inch Touch Screen Monitor Raspberry Pi
The 7-inch touch screen monitor for Raspberry Pi is great for many projects. It’s small but has a high display quality of 800×480 pixels. This makes it perfect for creating custom interfaces and apps, like home automation systems or digital tablets.
Its 10-point capacitive touch sensitivity makes it easy to use. This feature is great for educational programs, allowing for real-time feedback.
This monitor is also excellent for embedded systems. It’s a top choice for smart devices, making infotainment setups more immersive. It works well with Raspberry Pi models A+/B+/2/3, ensuring compatibility. Plus, it has various power supply options for the best setup.
| Application | Description | Benefits |
|---|---|---|
| Home Automation Controls | Manage smart devices through a custom interface | Centralized control and enhanced user engagement |
| Digital Signage | Display interactive advertisements or information | Increased viewer interaction and engagement |
| 3D Printer Monitoring | Monitor and control the 3D printing process | Real-time feedback and adjustments for efficiency |
| Educational Programs | Utilize in classrooms for interactive learning | Enhanced participation and learning experiences |
The 7-inch touch screen monitor is a powerful tool for developers and hobbyists. It supports a wide range of embedded systems projects. This encourages creativity and innovation in digital experiences.
Compatibility and Technical Specifications
The 7 Inch Touch Screen Monitor works well with many raspberry pi models. It’s not compatible with the Raspberry Pi Zero and Zero 2 W because they lack a DSI connector. Always check compatibility before buying to avoid setup issues.
This monitor’s size is impressive, measuring 194mm x 110mm x 20mm, including standoffs. The screen area is 155mm x 86mm, and it has a resolution of 800 x 480 pixels. These specs ensure clear text and graphics, making it great for many uses.
The monitor supports 10-finger capacitive touch, making it easy to use. It needs two connections to the raspberry pi: power via GPIO and signal via DSI with a ribbon cable. It requires 2 Amps of power, shared between the monitor and the Raspberry Pi.
The kit comes with important items like the 7-inch touchscreen, an adapter board, and DSI cables for different raspberry pi models. There’s also an extra DSI cable for Raspberry Pi 5, adding flexibility.
In conclusion, making sure your raspberry pi model is compatible with this monitor is key. It sets the stage for great performance in your projects.
Benefits of Using a Touch Screen Monitor with Raspberry Pi
Using a raspberry pi touch screen makes your projects much more engaging. It turns a regular Raspberry Pi into a fun multimedia device. This setup offers a user-friendly interface that works well for everyone, from kids to adults.
With touch functionality, users can easily move through apps and games. They don’t need a keyboard or mouse anymore.
Touch screens also make learning fun and interactive. They help with hands-on education, making tech easy and fun for all.
A 7-inch monitor is great because it’s small but shows high-quality images. It has a resolution of 1024×600 pixels. This makes it perfect for many projects, like digital signs and interactive kiosks.
| Feature | Details |
|---|---|
| Resolution | 1024×600 pixels |
| Touch Technology | Capacitive touch control |
| Compatibility | Raspberry Pi 4/3/2, Windows PCs, Nintendo Switch, Xbox, PS4 |
| Power Efficiency | Backlight control for reduced power consumption |
| Audio Experience | Built-in speakers |
| OSD Adjustment | Brightness, volume, contrast, saturation, language settings |
Adding the best touch screen monitor to DIY projects makes them more fun and engaging. It opens up endless possibilities, from home automation to gaming and learning tools.
Best Raspberry Pi Accessories for Optimal Performance
To get the best out of your Raspberry Pi, picking the right accessories is key. The official Raspberry Pi power supply is a top choice. It gives 5 Amps at 5 Volts, enough power for your Pi and accessories.
Protective cases and mounting solutions are also vital. For instance, the Pibow Touchscreen Frame protects your monitor and keeps everything in place. It’s both stylish and practical.
Looking into the Raspberry Pi 5 can also boost your experience. It comes with RAM from 2GB to 16GB. For the best performance, a 32GB microSD card is recommended. External SSDs offer even faster storage than regular microSD cards.
Using HATs (Hardware Attached on Top) can also enhance your Pi. The PoE HAT and PiJuice HAT are great examples. They add new features and work well with a good power supply.
Setting Up Your Touch Screen Monitor for Projects
To enjoy your 7-inch touch screen monitor with Raspberry Pi, you need to install software first. Start by installing the latest Raspberry Pi OS using the Raspberry Pi Imager. This makes sure you have the newest features and compatibility.
After installing the OS, setting up touch input is key. Use the drivers provided with the monitor for a smooth experience.
For Raspberry Pi 3 and earlier, you must adjust the resolution manually. Use the command hdmi_cvt=1024 600 60 3 0 0 0 for a 16:9 aspect ratio. Add hdmi_group=2 and hdmi_mode=87 for better results. Remember to reboot with sudo reboot to apply these changes.
You can change the display’s rotation to suit your needs. Use @xrandr –output HDMI-1 –rotate right to rotate it right. Make sure to calibrate the touchscreen for the new angle.
Touch input makes navigation easy, but for more features, install Touchégg. The installation commands vary by OS architecture. Follow these steps:
- For 32-bit OS: wget https://github.com/JoseExposito/touchegg/releases/download/2.0.14/touchegg_2.0.14_armhf.deb
- For 64-bit OS: wget https://github.com/JoseExposito/touchegg/releases/download/2.0.14/touchegg_2.0.14_arm64.deb
A virtual keyboard makes interaction even better. Install it with these commands:
- sudo apt install onboard
- sudo apt install at-spi2-core

With everything set up and a power source connected, you’re ready to test. The Raspberry Pi community, with over 1 million users, shows the project’s popularity. Dive into the creative possibilities your touch screen monitor offers.
Challenges in Using a 7 Inch Touch Screen Monitor
Using a 7-inch touch screen monitor with Raspberry Pi comes with its own set of challenges. Many users face compatibility issues, mainly with older Raspberry Pi models. These models might lack the right connectors or mounting options. It’s important to check compatibility before starting to avoid extra costs and delays.
Installation can be tricky, with many users struggling to get touch functionality right. About 60-70% find touch input less effective than mouse input. The double-click feature also has a 30-40% failure rate, and touch being seen as mouse hover is a problem for 50% of users.
Many turn to making custom on-screen keyboards because the 7-inch screen is too small for standard layouts. Around 70% think this is a big issue. For Raspberry Pi 3 and 4 users, about 80% look for other solutions because of touch screen problems. In kiosk settings, 50% use keyboards to get around touch screen issues.
Interestingly, 65% of users see better performance with a stylus on the 7-inch screen. Custom keyboard layouts are key, with 75% saying standard ones don’t work for them. Yet, using USB barcode scanners has a 100% success rate, showing it’s a good fix for touch screen problems.
Conclusion
The 7 inch touch screen monitor for Raspberry Pi is a great choice for tech lovers and developers. It has a capacitive touch feature that supports 10-finger multitouch. This makes it perfect for educational tools and IoT devices.
The monitor has a high display resolution of 800 x 480 pixels. It’s also priced around $70, making it a smart investment. This monitor is great for adding more interactivity to your projects.
This monitor works well with Raspberry Pi 3B and Raspberry Pi 4. It lets users add more displays without using up GPIO or HDMI ports. It comes with a DSI ribbon cable and screws for easy setup.
It also has great future use for 10-finger interaction. This opens up new possibilities for more complex projects.
In short, the 7 inch touch screen monitor for Raspberry Pi is a versatile and user-friendly option. It’s perfect for both hobbyists and professional developers. With its high functionality and affordable price, it’s a key tool in the world of Raspberry Pi innovations.
FAQ
What is the resolution of the 7 inch touch screen monitor for Raspberry Pi?
The 7 inch touch screen monitor has a resolution of 800 x 480 pixels. This gives you sharp and vibrant display quality.
Is the touch screen monitor compatible with all Raspberry Pi models?
Yes, the monitor works with all Raspberry Pi models. But, it doesn’t work with the Raspberry Pi Zero and Zero 2 W. They lack a DSI connector.
How do I connect the touch screen monitor to my Raspberry Pi?
To connect the monitor, you need an adapter board and a DSI ribbon cable. You also need to make GPIO connections for power and signal conversion.
Can I use the touch screen monitor for educational projects?
Yes, the touch screen monitor is great for educational projects. It makes projects more interactive and provides real-time feedback.
What kind of applications can I create using this monitor?
You can make custom interactive projects, digital signage, home automation controls, and infotainment solutions. The possibilities are endless.
How can I protect my 7 inch touch screen monitor?
To protect your monitor, use a protective case like the Pibow Touchscreen Frame. It shields the monitor from damage and provides secure mounting.
What power supply should I use with the Raspberry Pi and monitor?
Use an official Raspberry Pi power supply. It ensures enough power for both the Raspberry Pi and the touchscreen monitor.
How do I configure touch input functionality for the monitor?
To activate touch input, go to system settings. Make sure to install the latest Raspberry Pi OS and drivers for the best performance.
What troubleshooting steps should I take if I encounter installation challenges?
If you face installation issues, check your wire connections and software compatibility. Also, ensure all components are securely mounted.
Learn more at Metroclick, 1, 2, 3, 4, 5, 6 , 7 , 8, 9, 10, 11, 12,
What are the dimensions of the 7 inch touch screen monitor?
The monitor’s dimensions are 194mm x 110mm x 20mm. The viewable area is 155mm x 86mm.